Workflow
Phase 1 - Initial (automatic) segmentation
- Install inaSpeechSegmenter for automatic segmentation.
- Run
ina_speech_segmenter.pywith options-d=smnand-g=false. Results in output.csv. - Convert output.csv to output.txt (format: Audacity label-tracks). An example of an R-script for conversion is added.
Phase 2 - Manual annotation in Audacity
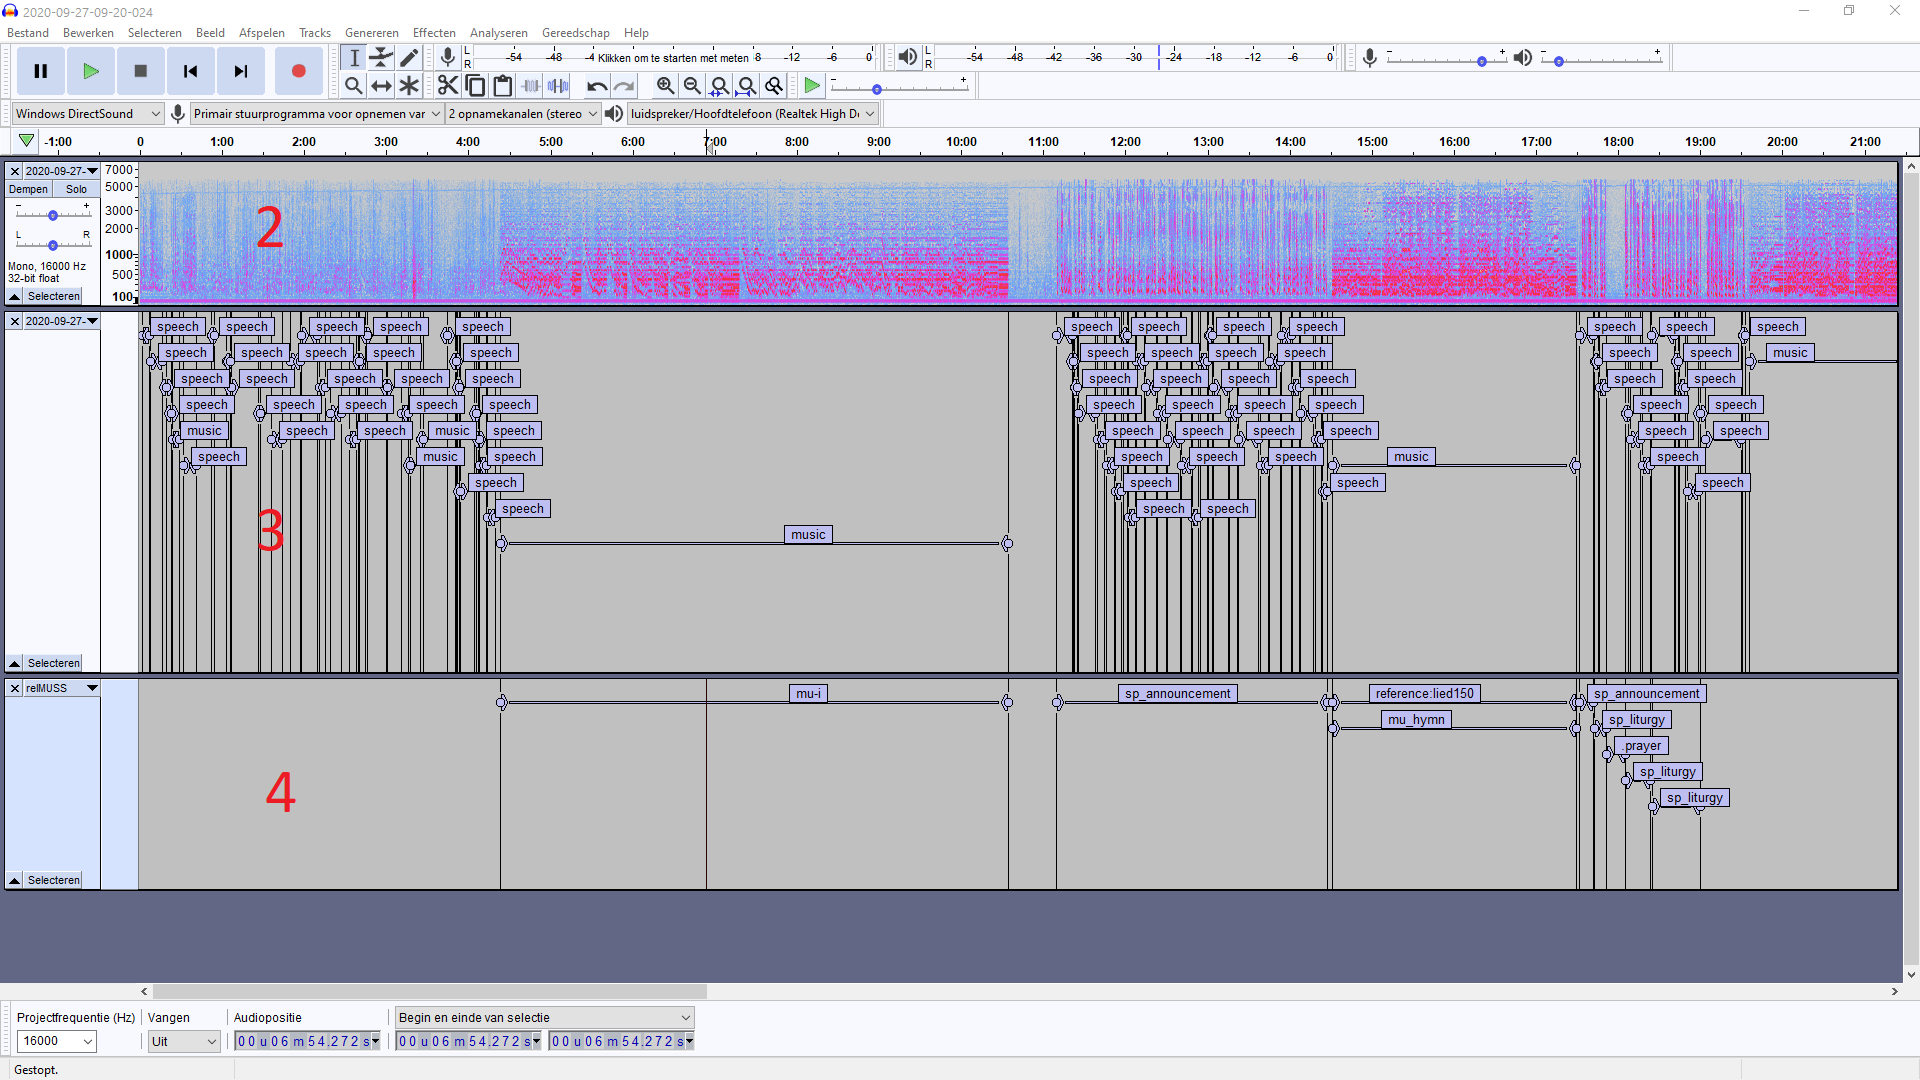
The red numbers in the picture refer to the steps 2-4 below.
Prepare
- Import audiofile (MP3) in Audacity: file > import > audio.1
- Set view of the audio-track to Spectrogram and select spectrogram scale MEL. Use dropdown menu next in the leftbox of the wave-form: spectrogram > spectrogram settings > scale > MEL.2
- Import the label file generated by inaSpeechSegmenter and that has been converted to output.txt to guide manual labelling: file > import > labels.
Tag segments
- Add new label track for the relMUSS annotation: tracks > add > labeltrack.
- Find the first segment with music or speech that indicates the start of the worship service and label the segments in the new label track accordingly.
Suggestions: use the Speech-segmenter track to select a segment, and press CTRL(CMD)-B to create a new label in the relMUSS track. Drag the borders of the segment to match its required length.
Export label-track to .txt
- Remove the Speech Segmenter track to make sure only the relMUSS track with newly annotated segments is visible in Audacity.
- Export label-track: file > export > export labels